If you want a flatter midsection but you feel too tired, too stiff, or too busy for a full standing workout, a seated ab routine can be a practical solution. This guide explains how to do 8 seated core exercises with simple form cues, what to expect, how to stay safe, and how to progress when your energy improves.
This approach is especially useful for people with limited mobility, balance concerns, or joint sensitivity. It focuses on controlled muscle engagement rather than high impact.
Table of Contents
- What a seated abs workout is (and why it works)
- Who this workout is for
- Equipment you need
- How to structure the 8-minute seated ab session
- The 8 seated abs exercises (step-by-step)
- How to make it effective for belly fat loss
- Progressions (when you feel ready)
- Common mistakes to avoid
- Pitfalls and safety notes
- Quick cooldown and next steps
- FAQ
- Takeaway
What a seated abs workout is (and why it works)
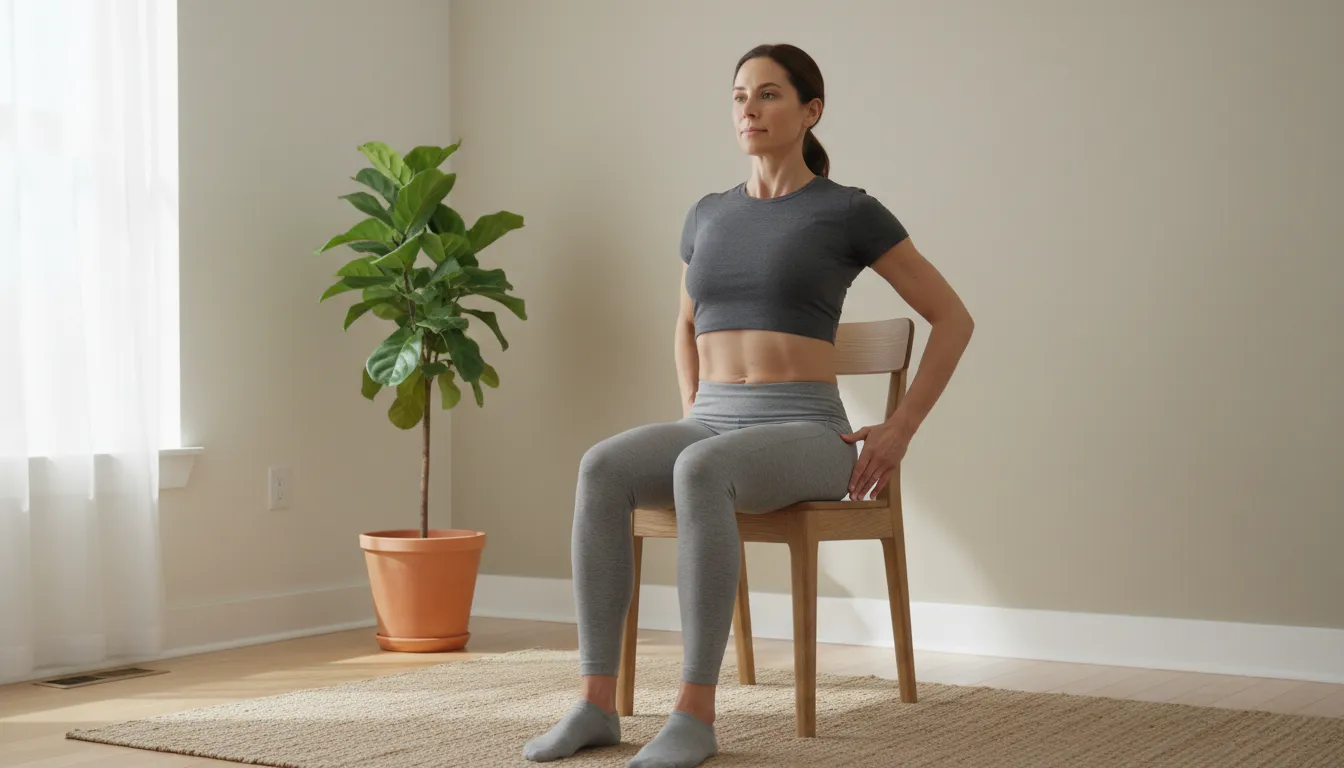
A seated abs workout uses a chair to reduce strain and stabilize your body while you train the core. That means you can focus on core stabilization and controlled trunk movement instead of balancing on your feet.
Key reasons seated core training is easier to stick with
- Lower joint stress: You are not doing weight-bearing moves, so knees and hips often feel less taxed.
- Neutral spine support: Sitting upright helps keep the ribs stacked over the pelvis, which makes ab work safer and more targeted.
- Time-efficient intensity: Short intervals can create enough training stimulus without exhausting your whole body.
- Better form consistency: Stability makes it easier to recruit deep core muscles and limit momentum.
Who this workout is for
- People searching for low-impact belly fat exercises
- Anyone who feels “too tired to exercise” but still wants core training
- Those who prefer chair exercises or need a modification for standing ab routines
- People with mild balance limitations who want a safer alternative
- Older adults who want core strength without high-impact stress
Note: This is exercise education, not medical advice. If you have pain, hernias, recent surgery, or a condition affecting your core, get clearance from a clinician.
Equipment you need
- 1 sturdy chair (no wheels)
- Water
- Optional: a small towel or cushion if sitting comfortably requires it
How to structure the 8-minute seated ab session
Use an interval format to keep intensity manageable and consistent.
- 8 exercises
- 45 seconds work per exercise
- 15 seconds rest between moves
- Total time is about 8 minutes (excluding a brief setup and optional cooldown)
Core engagement checklist (use before every exercise)
- Ribs down (avoid flaring)
- Low belly braced like you are preparing for gentle pressure
- Neck long (don’t tuck the chin aggressively)
- Move with control (no rushing)
The 8 seated abs exercises (step-by-step)
Perform each move for 45 seconds. Rest for 15 seconds. If you need a break, rest longer and restart the set when ready.
1) Seated torso circles (controlled oblique work)
- Sit tall with your hands near the sides of the chair or resting lightly at your torso.
- Circle your upper body smoothly in one direction.
- After the interval (or mid-way if you prefer), reverse direction.
Form cue: Keep the pelvis stable and let the movement come from your torso, not flopping your shoulders.
2) Lean-back foot slides (lower core activation)
- Lean back slightly while keeping your chest open.
- Hold the chair for support.
- Bring your feet forward slightly, then return them, keeping your center braced.
Form cue: Keep your back straight and avoid letting your feet “kick” from momentum.
3) One knee lift taps (deep core knee raises)
- Hold your hands above your knees.
- Lift one knee toward your hands, then lower with control.
- Alternate sides.
Form cue: Imagine your torso is a steady platform. Your arms guide the movement, but the abs do the work.
4) Seated side-to-side controlled hops (waist and core tension)
- Lift your feet slightly off the floor.
- Hop or shift your feet side to side quickly, but stay controlled.
- Keep your core braced throughout.
Modification: If hopping feels uncomfortable, do faster side taps instead of hops while keeping the same core tension.
5) Alternating knee lifts without torso movement (high-quality reps)
- Lean back slightly or sit tall with your hands supported on the chair (if needed).
- Lift one knee, lower it, then lift the other.
- Keep your torso still while your legs do the work.
Form cue: If your back twists or sways, reduce the height of the knee lift.
6) Double knee tuck to chest (short-range, strong contraction)
- Lean back slightly and hold the chair for stability.
- Lift both knees toward your chest.
- Lower them slowly without dropping.
Form cue: Think “short and tight.” Controlled range often beats large range when fatigue sets in.
7) Seated cross elbow to opposite knee twists (oblique definition)
- Start with arms in a goalpost position (bent at the elbows).
- Twist and bring one elbow toward the opposite knee.
- Alternate sides smoothly.
Form cue: Rotate from your ribcage and core, not from yanking with your arms.
8) Chair balance coordination: arm-leg reaches to the sides
- Bring arms together in front of you.
- Reach one arm and the opposite leg (or same side based on your comfort) to the side, then return to center.
- Continue alternating sides with steady rhythm.
Form cue: Keep your gaze forward and your core engaged to protect your lower back.
How to make it effective for belly fat loss
Targeting your abs builds core muscle and improves function, but belly fat loss depends on your overall energy balance. The workout helps by supporting muscle tone, strength, posture, and consistency.
Use this performance target
- Each interval should feel like work, not strain.
- You should finish breathing harder but not gasping.
- If form breaks, reduce range of motion or slow the tempo.
Weekly frequency that makes sense
- 2 to 4 times per week is a solid starting range for most people.
- Pair it with walking, cycling, or a gentle full-body strength session for broader fat-loss support.
Progressions (when you feel ready)
Progress gradually so the workout stays safe and high quality.
Simple ways to level up
- Increase control: Slow down the lower phase (for moves like knee lifts and tucks).
- Increase range safely: Lift slightly higher only if your torso stays stable.
- Repeat the circuit: Do a second 8-minute round after a rest day or two, depending on recovery.
- Reduce support: For some movements, reduce how much you lean on chair support.
Common mistakes to avoid
- Using momentum: If the legs swing or the torso flops, you are reducing core activation.
- Holding your breath: Exhale as you lift or twist, then inhale as you return.
- Rounding the back: Keep a neutral spine. If you feel strain in the low back, decrease range.
- Doing too much too soon: Small, repeatable effort wins. Don’t force maximum reps on day one.
- Turning every rep into a crunch: Twists and knee lifts are core work, but your goal is control, not pain.
Pitfalls and safety notes
Stop or modify if you feel
- Sharp pain in the abdomen, back, or hip
- Numbness or tingling
- Bulging near the midline (possible hernia symptom)
Chair setup tips
- Use a stable chair and keep it close enough that you do not need to reach.
- Place feet flat unless a move explicitly requires feet lifted.
- If sitting causes discomfort, try a slight cushion and reduce lean-back depth.
Quick cooldown and next steps
After the set, rest and rehydrate. If comfortable, do light stretching for the hip flexors and gentle spinal mobility to help your body recover.
Choose your next action
- If you have energy: add a short walk or a gentle mobility session.
- If you feel drained: do only the stretching and repeat the workout another day.
FAQ
Can a seated ab workout really burn belly fat?
A seated core workout helps strengthen and tone the abdominal muscles and can support posture and activity. Belly fat loss happens from your overall calorie balance, but building core strength makes it easier to move more consistently and train effectively.
Is this safe for people with back pain?
It can be safer because you are supported by a chair and you can control range of motion. However, back pain varies. Keep movements small, maintain a neutral spine, and stop if you feel sharp pain. Consider medical clearance if pain is persistent.
Do I need to go fast to feel the burn?
No. Quality matters more than speed. Use controlled reps, maintain core bracing, and reduce range if form breaks. Controlled effort often creates a stronger training stimulus.
How many times per week should I do these chair abs?
For most people, 2 to 4 times per week works well. Pair it with general movement such as walking and at least one other strength or mobility routine for best body composition results.
What if I cannot lift my knees or keep my feet off the floor?
Modify the range of motion. Perform smaller knee lifts, slower leg slides, or replace hops with seated side taps while keeping core tension. The goal is consistent engagement, not maximum height.
Takeaway
A short, 8-minute seated abs workout is a practical way to train your core when energy is low or impact feels like too much. Prioritize stable posture, controlled movement, and consistent effort. Do it a few times per week, progress gradually, and pair it with regular daily movement for the best results.


0 Comments